> ## Documentation Index
> Fetch the complete documentation index at: https://docs.chartdb.io/llms.txt
> Use this file to discover all available pages before exploring further.
# Creating Relationships with Foreign Keys
> Learn how to create database relationships in ChartDB using foreign keys.
 In ChartDB, relationships between tables are established through **foreign keys**.
This means a column in one table (the **primary table**) points to a column in another table (the **referencing table**), linking records that belong together.
For a relationship to be valid, the [field
types](/diagrams/tables-fields#data-type) of the columns you choose in both the
primary and referencing tables **must match**.
## Create Relationships
ChartDB offers three user-friendly ways to create relationships between your database tables:
This is the most straightforward and visually intuitive method for creating relationships.
To create a relationship, simply click and drag from a connection dot on your primary table to a column in your target table.
ChartDB will highlight compatible columns as you drag.
In ChartDB, relationships between tables are established through **foreign keys**.
This means a column in one table (the **primary table**) points to a column in another table (the **referencing table**), linking records that belong together.
For a relationship to be valid, the [field
types](/diagrams/tables-fields#data-type) of the columns you choose in both the
primary and referencing tables **must match**.
## Create Relationships
ChartDB offers three user-friendly ways to create relationships between your database tables:
This is the most straightforward and visually intuitive method for creating relationships.
To create a relationship, simply click and drag from a connection dot on your primary table to a column in your target table.
ChartDB will highlight compatible columns as you drag.
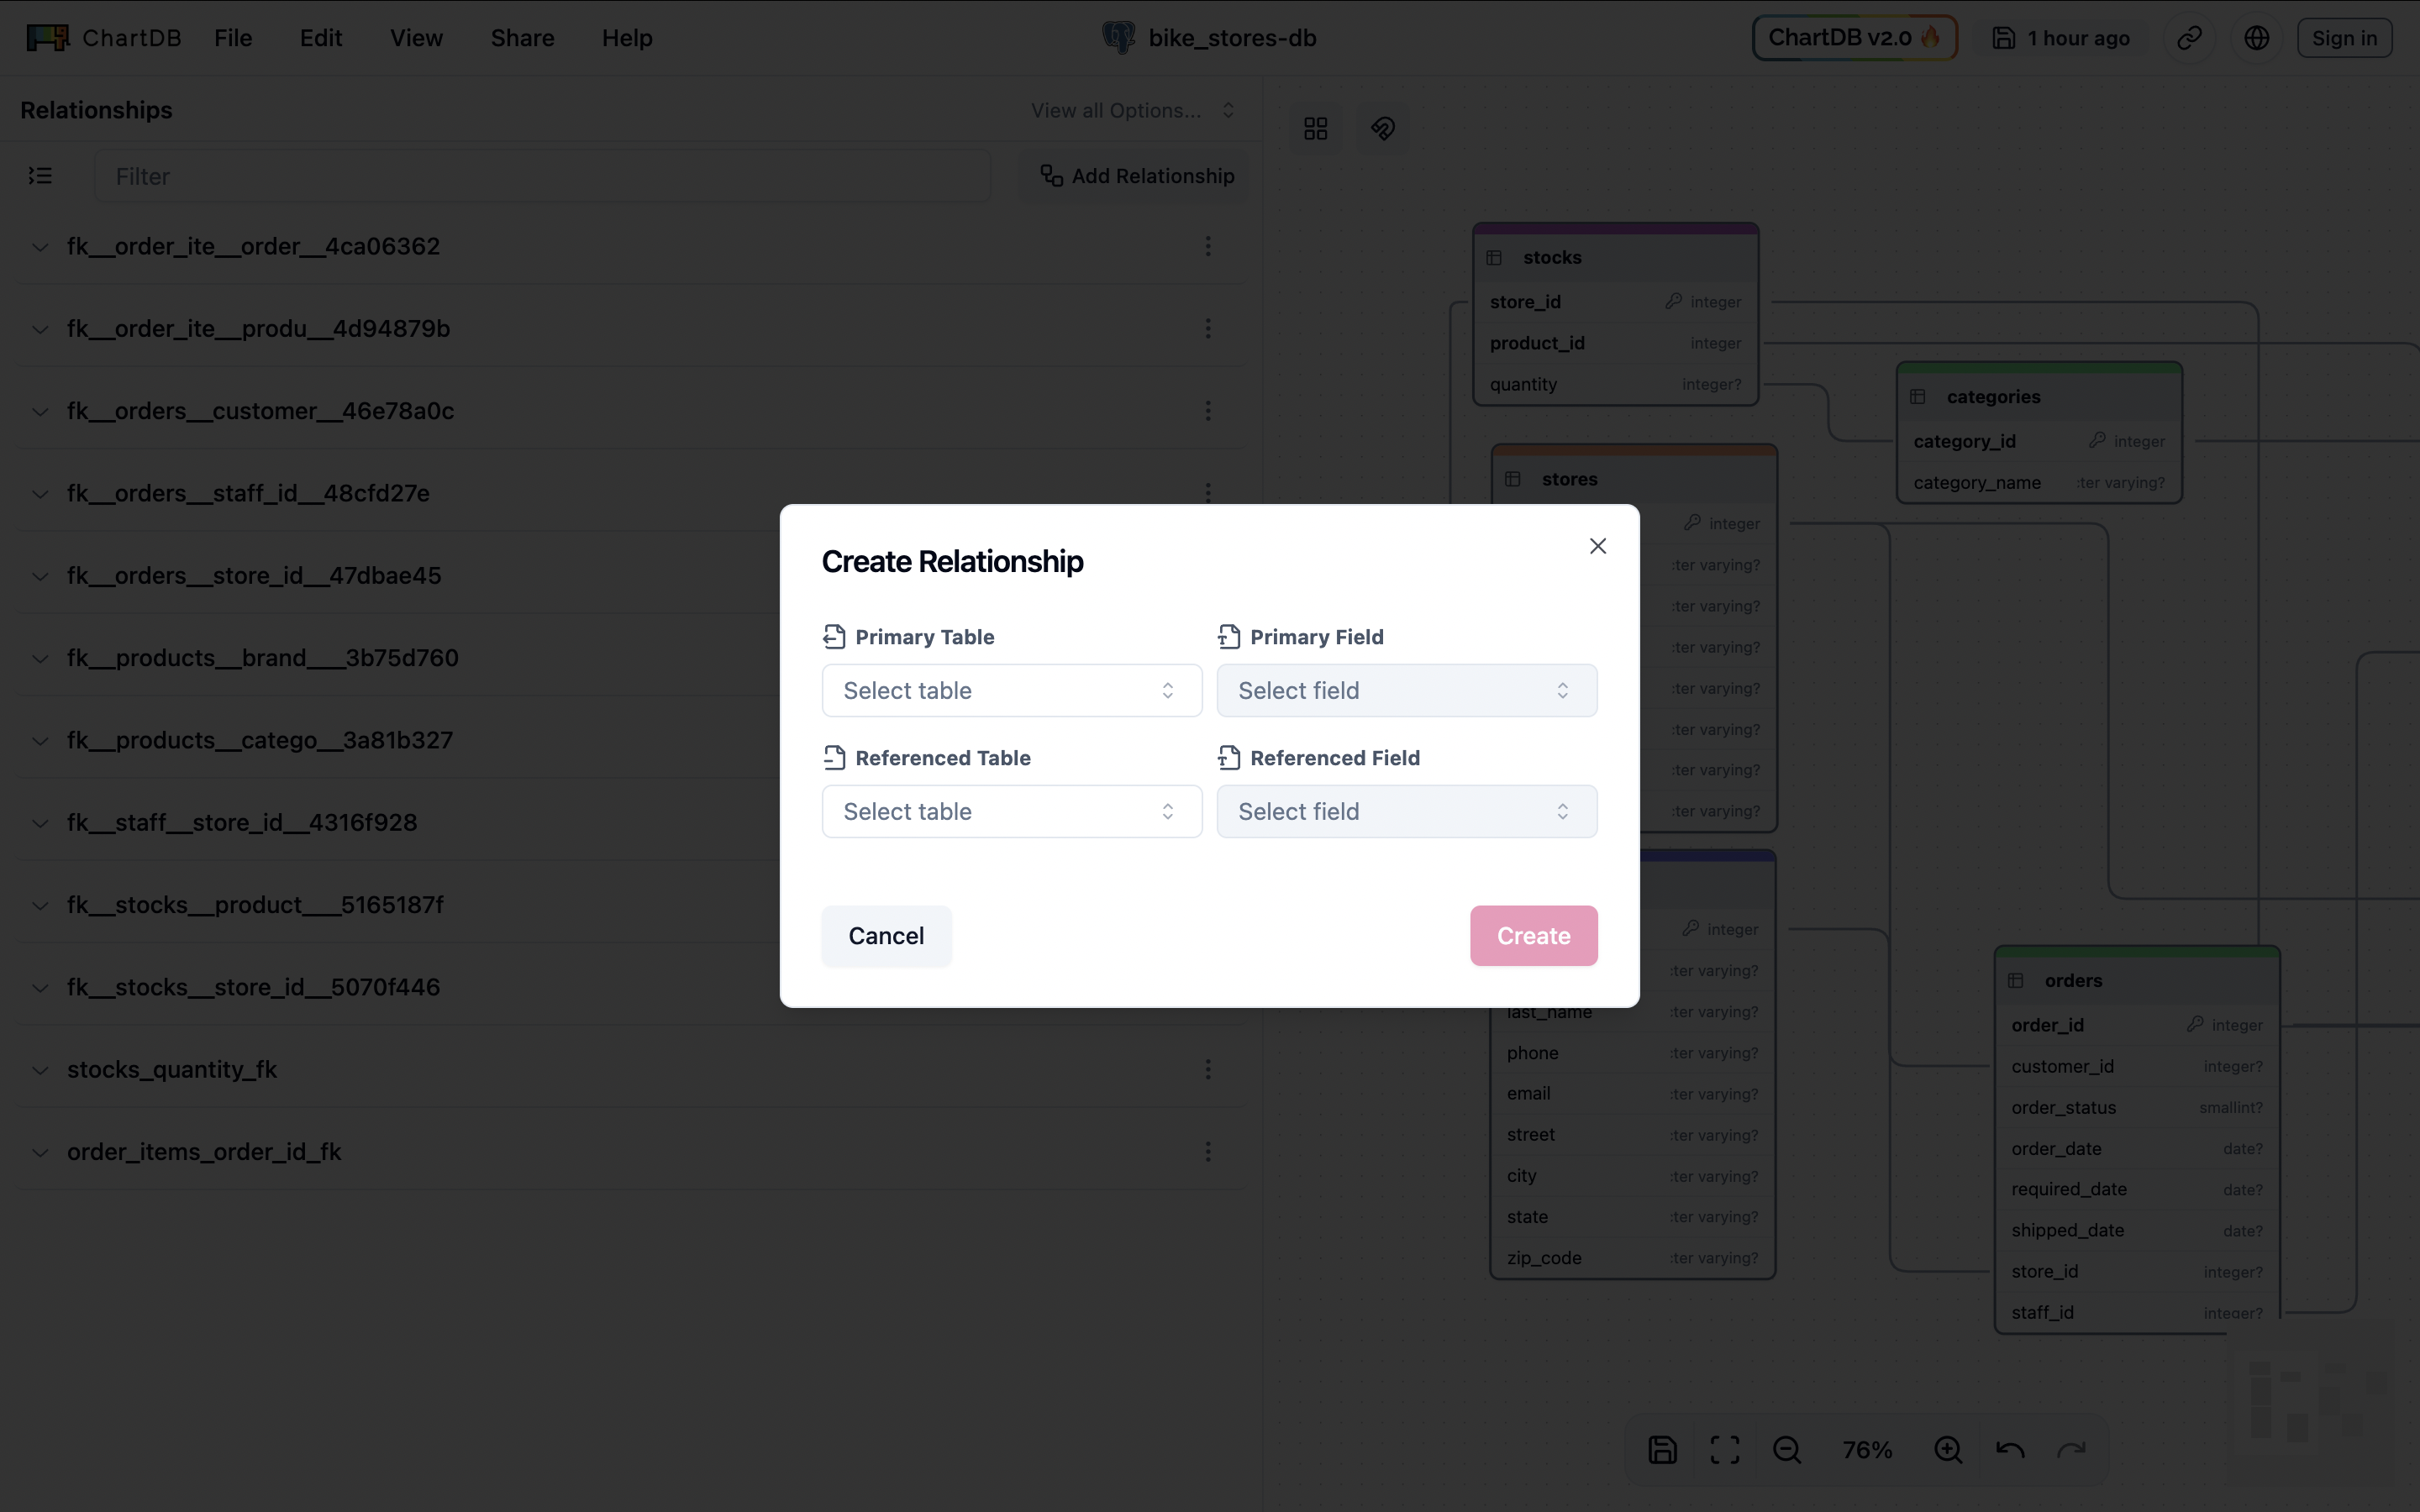
 This method provides an alternative, especially useful when tables are positioned far apart on the canvas, making drag and drop less convenient.
Right-click on any table and select "Create Relationship" from the menu.
In the sidebar that appears, select your primary and referencing tables, choose the columns to connect, and click Save to create the relationship.
ChartDB also provides a dedicated "Relationship" menu within its interface, offering a structured approach to relationship management.
Navigate to the "Relationship" menu and click "Add Relationship".
In the configuration sidebar, select your primary and referencing tables, choose the columns to connect, and click Save to create the relationship.
This method provides an alternative, especially useful when tables are positioned far apart on the canvas, making drag and drop less convenient.
Right-click on any table and select "Create Relationship" from the menu.
In the sidebar that appears, select your primary and referencing tables, choose the columns to connect, and click Save to create the relationship.
ChartDB also provides a dedicated "Relationship" menu within its interface, offering a structured approach to relationship management.
Navigate to the "Relationship" menu and click "Add Relationship".
In the configuration sidebar, select your primary and referencing tables, choose the columns to connect, and click Save to create the relationship.
 ## View Relationship Cardinality
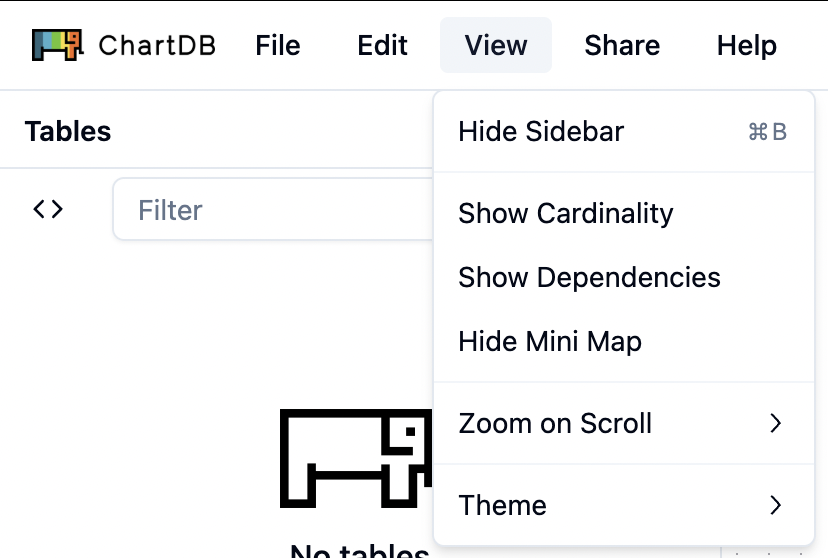
By default, cardinality indicators are not visible on the diagram. To display the cardinality of relationships:
* In the top menu bar of ChartDB, click on the **View** dropdown menu and click on the **Show Cardinality** option from the dropdown.
Once enabled, ChartDB will display cardinality indicators (e.g., 1, N) on the relationship lines in your diagram, visually representing the type of relationship (one-to-many, many-to-many, etc.).
## View Relationship Cardinality
By default, cardinality indicators are not visible on the diagram. To display the cardinality of relationships:
* In the top menu bar of ChartDB, click on the **View** dropdown menu and click on the **Show Cardinality** option from the dropdown.
Once enabled, ChartDB will display cardinality indicators (e.g., 1, N) on the relationship lines in your diagram, visually representing the type of relationship (one-to-many, many-to-many, etc.).
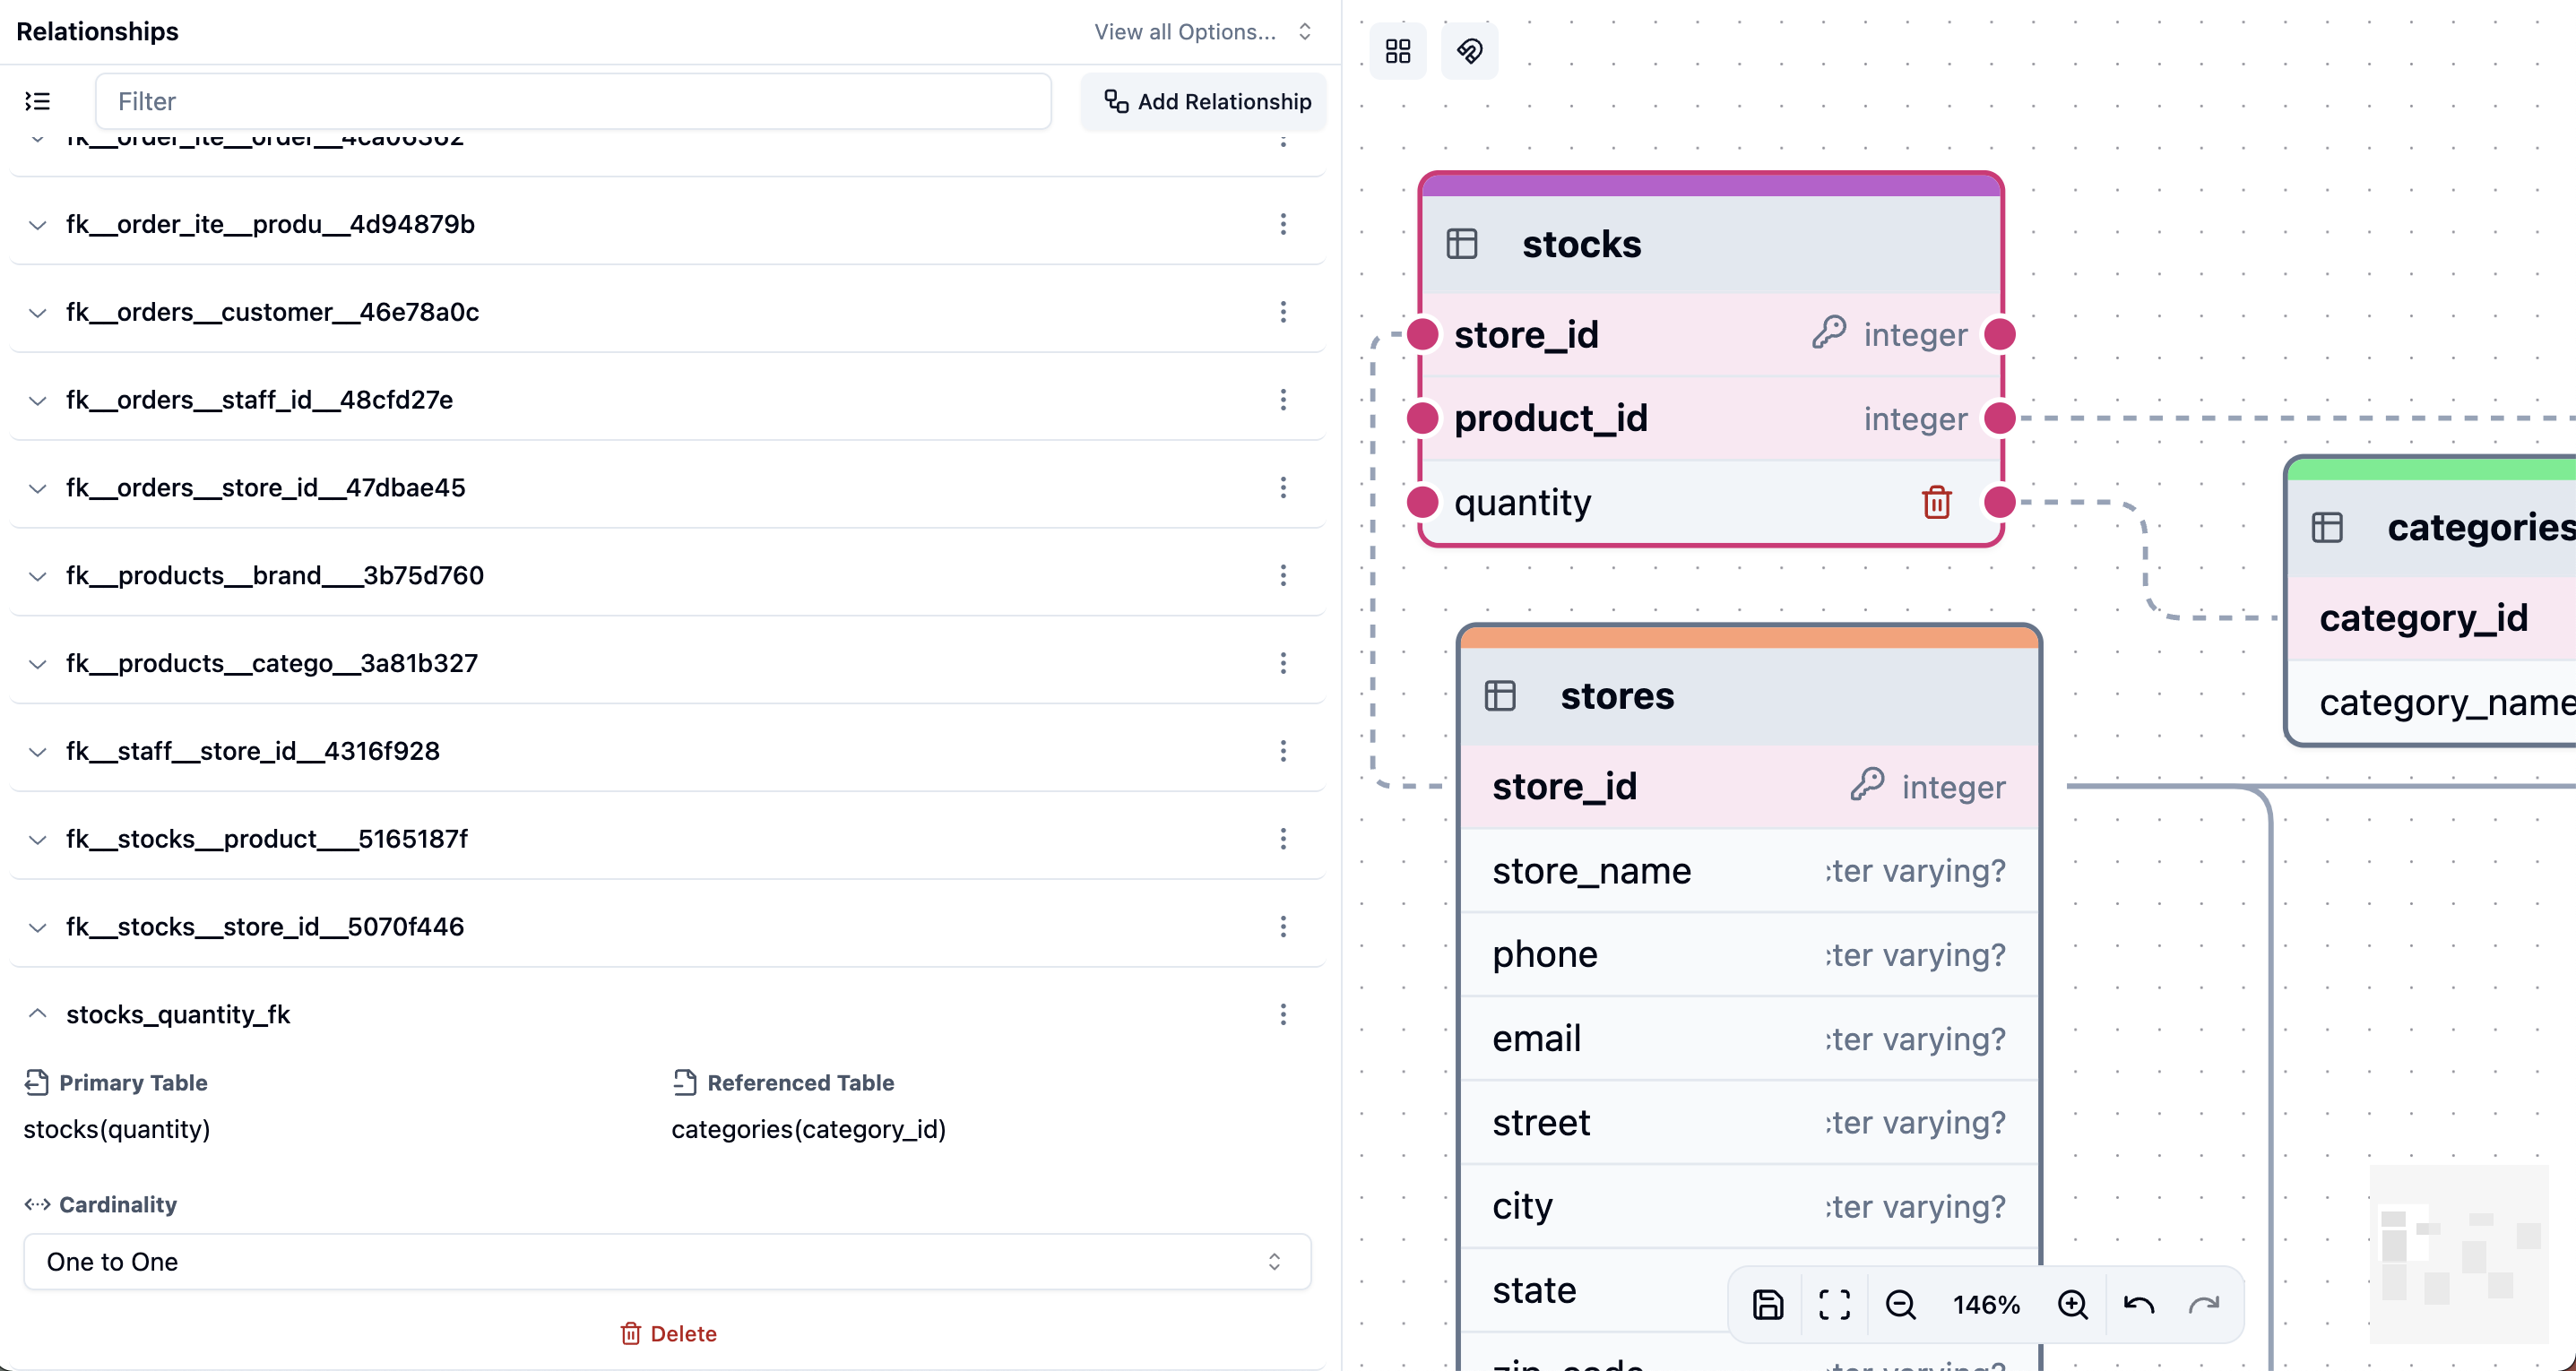
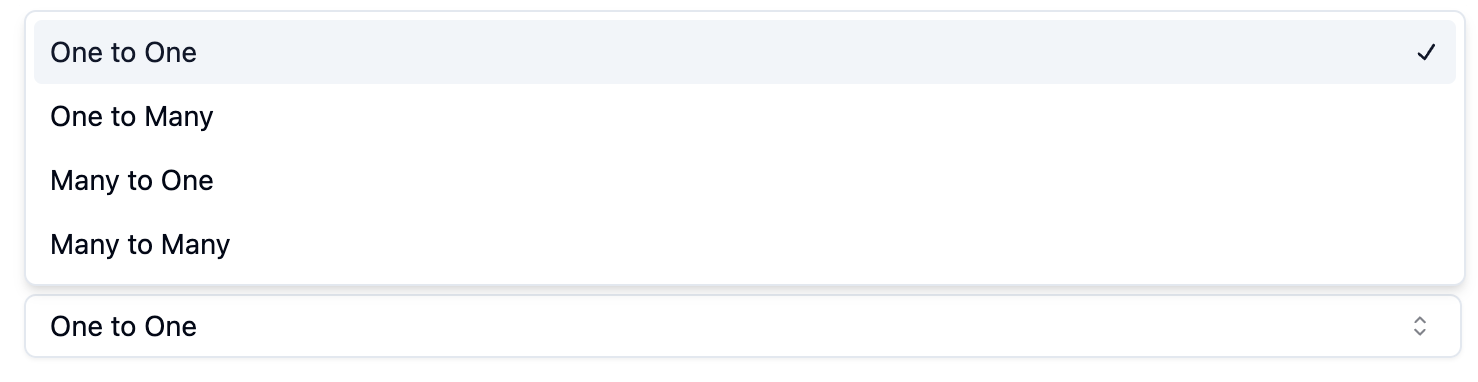
 ## Modify Relationship Cardinality
ChartDB supports 4 relationship cardinalities, including **One-to-One**, **One-to-Many**, **Many-to-One**, and **Many-to-Many**.
To adjust the **cardinality** of a relationship:
1. **Select the Relationship:** Click on the relationship line connecting the two tables in your diagram. This will typically open the relationship details in the sidebar.
2. **Modify Cardinality:** In the sidebar, you will find a dropdown menu labeled "Cardinality" or similar. Use this menu to select the new cardinality for the relationship.
## Modify Relationship Cardinality
ChartDB supports 4 relationship cardinalities, including **One-to-One**, **One-to-Many**, **Many-to-One**, and **Many-to-Many**.
To adjust the **cardinality** of a relationship:
1. **Select the Relationship:** Click on the relationship line connecting the two tables in your diagram. This will typically open the relationship details in the sidebar.
2. **Modify Cardinality:** In the sidebar, you will find a dropdown menu labeled "Cardinality" or similar. Use this menu to select the new cardinality for the relationship.
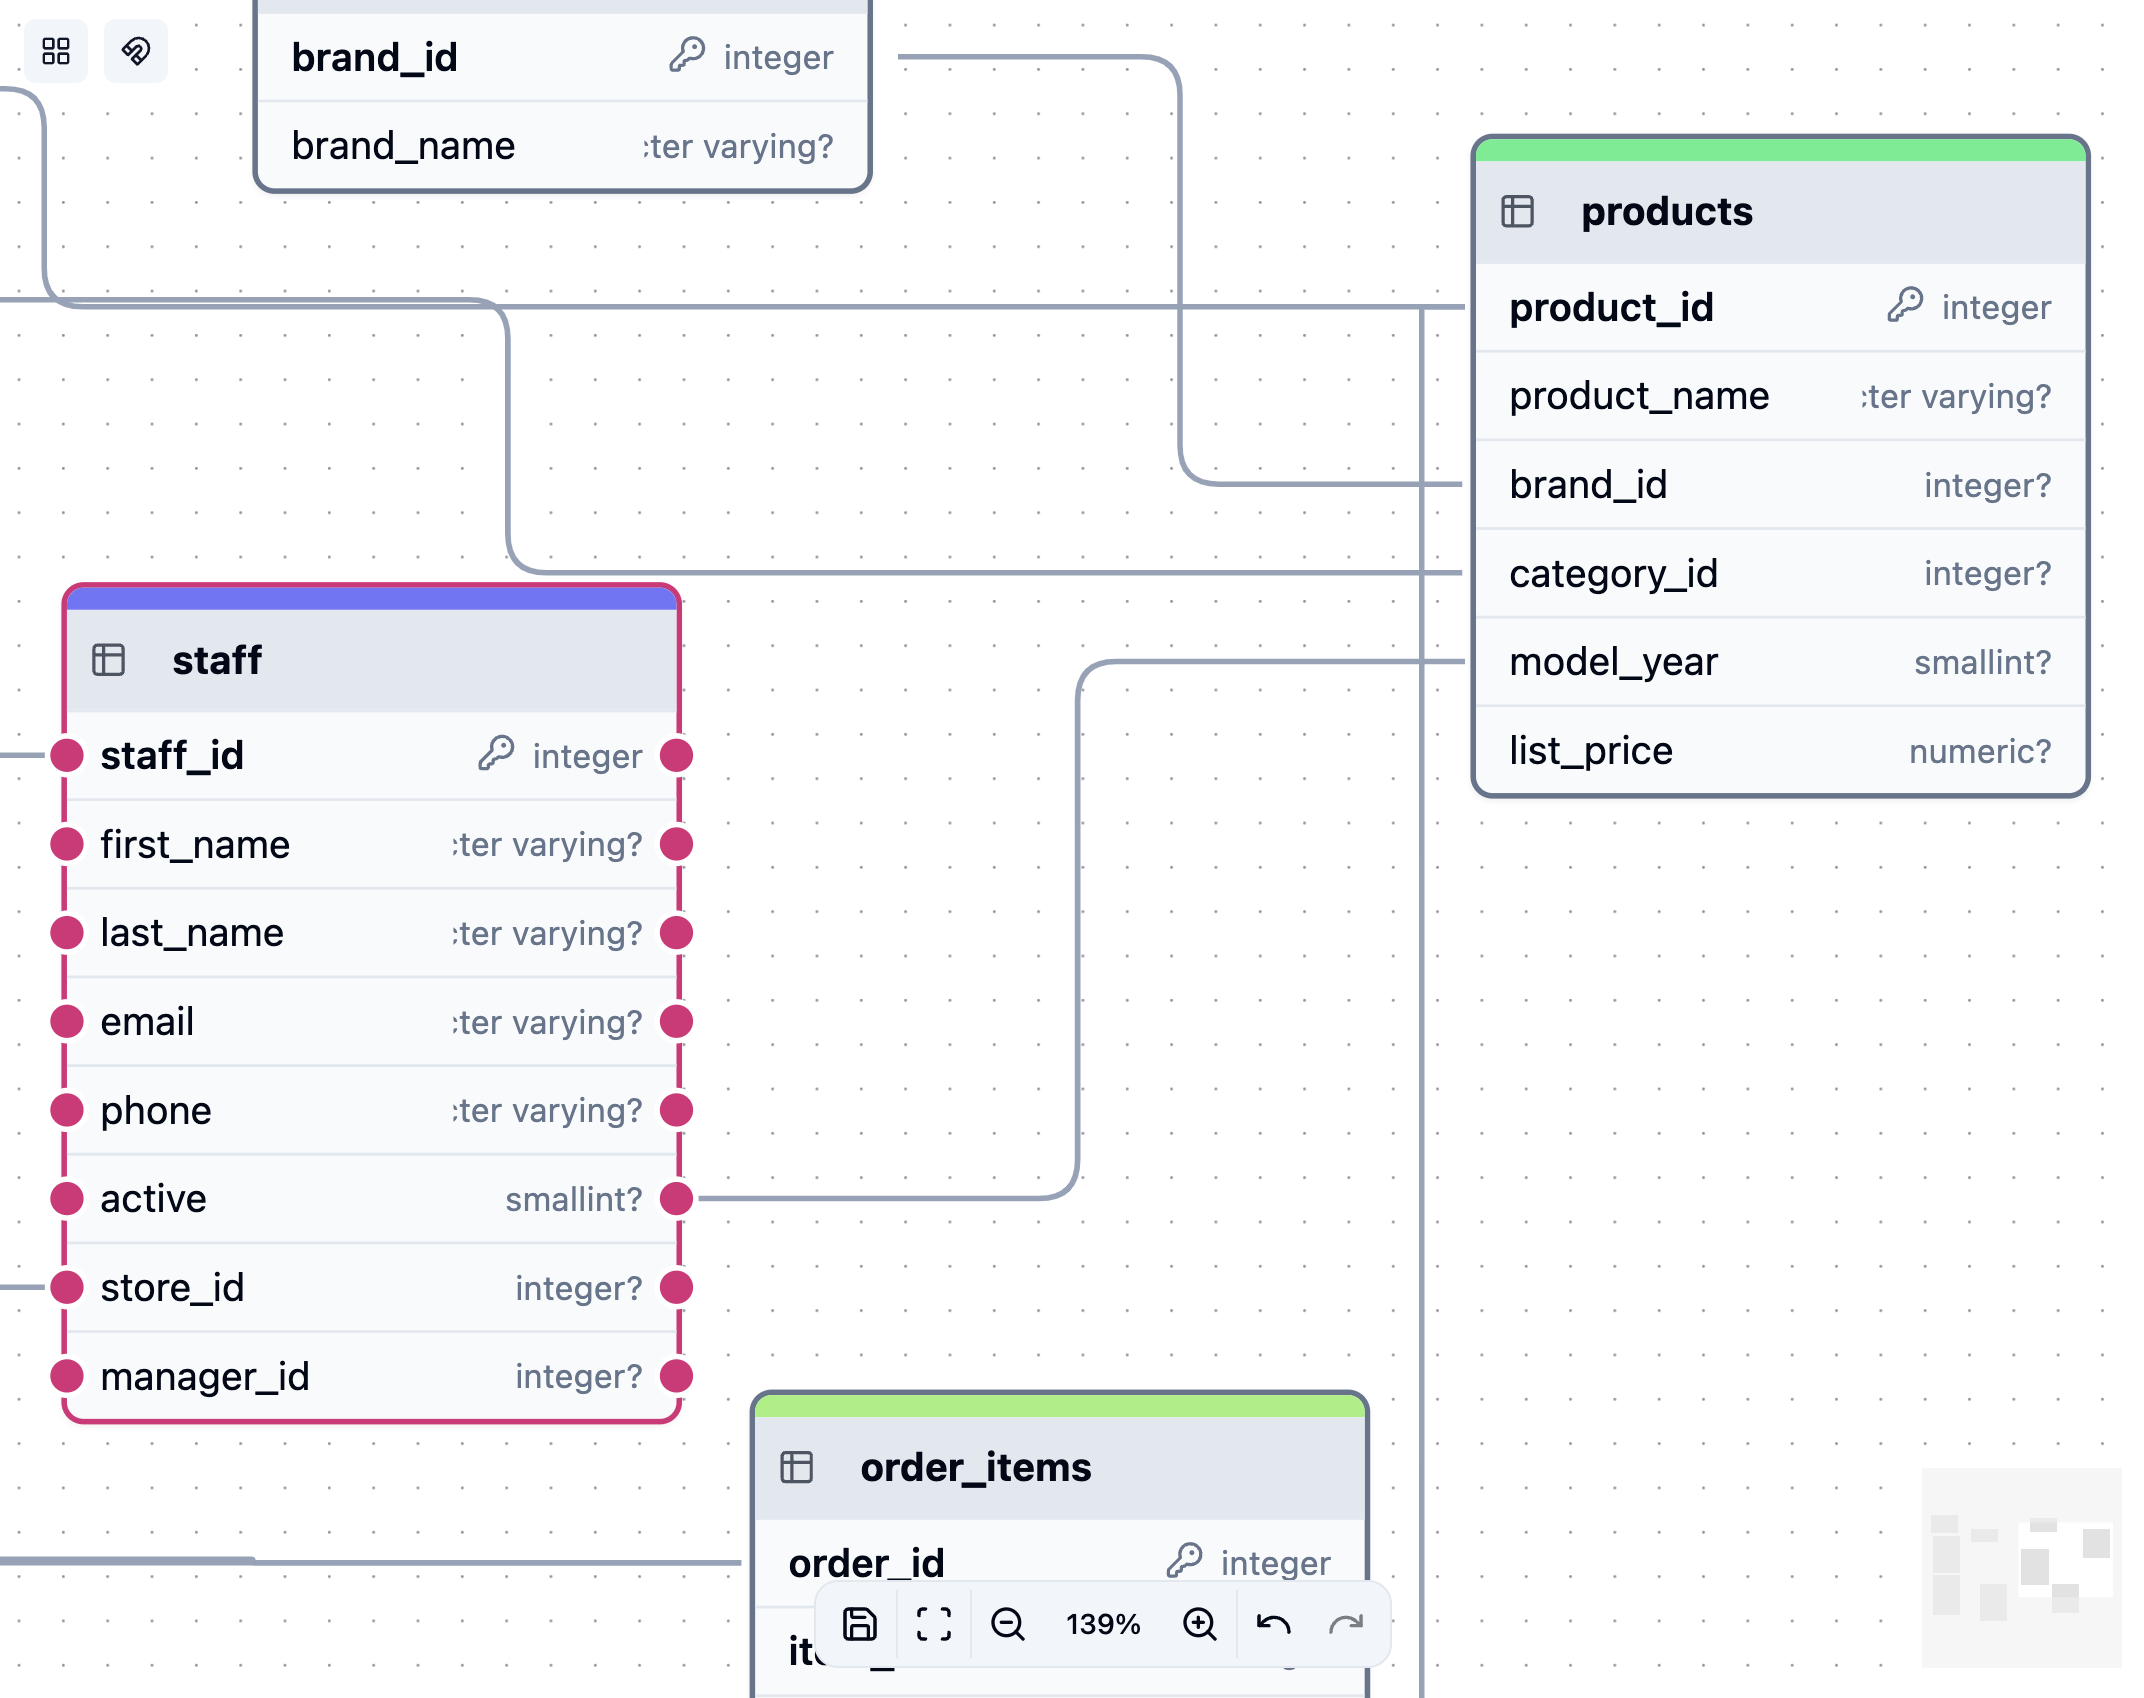
 Once you've created a relationship, ChartDB immediately visualizes it on your diagram. You'll see a line connecting the related tables, clearly indicating the established link.